
Each day this month I have spent 15 minutes working on a project - just a...
- no hassle
- mind clearing
- getting in the mood to create
- clearing the workroom
- using up the scraps
... sort of project... and it fits in nicely with first letter of this month: the letter S, because S stands for scraps, scrapbooking, sewing... oh and stenciling & stamping!
When I make a project I always cut extras ('just in case') and keep the left over bits and pieces,these end up gathering in a box or clear file... well enough is enough. I am being ruthless and firm with myself : STOP SAVING THE SCRAPS (ooh look at all the lovely Ss in that sentence)

Now you might think the pile (imagine I'm saying 'the pile' in a deep scary voice with echo lol to give it gravitas) doesn't look too bad - but remember its a PILE there's plenty of bits and pieces under what you can see - and for size perspective - the cards you can see in the top right hand corner measure 6x4inches.
My project/plan is to make a card every day in October, and extras if I'm in the mood... I didn't set myself any rules or guidelines (why make things hard for yourself) (not even deciding on landscape or portrait! big step for me! lol) except that:
- Every card must use at least one piece out of the scrap box/from the pile...
- Nothing new can be bought and used - whatever used must be IN my workroom.
Simple! I love the challenge of this - making (hopefully) something special out of scraps... and adapting items so they can be used (such as die cutting letters or shapes from the random bits of card that are in the pile..)
Oh, and anything left over at the end of the month will be thrown away.
Here are the cards so far:


Photos printed out on polaroid style film - I really like the dinky little prints..


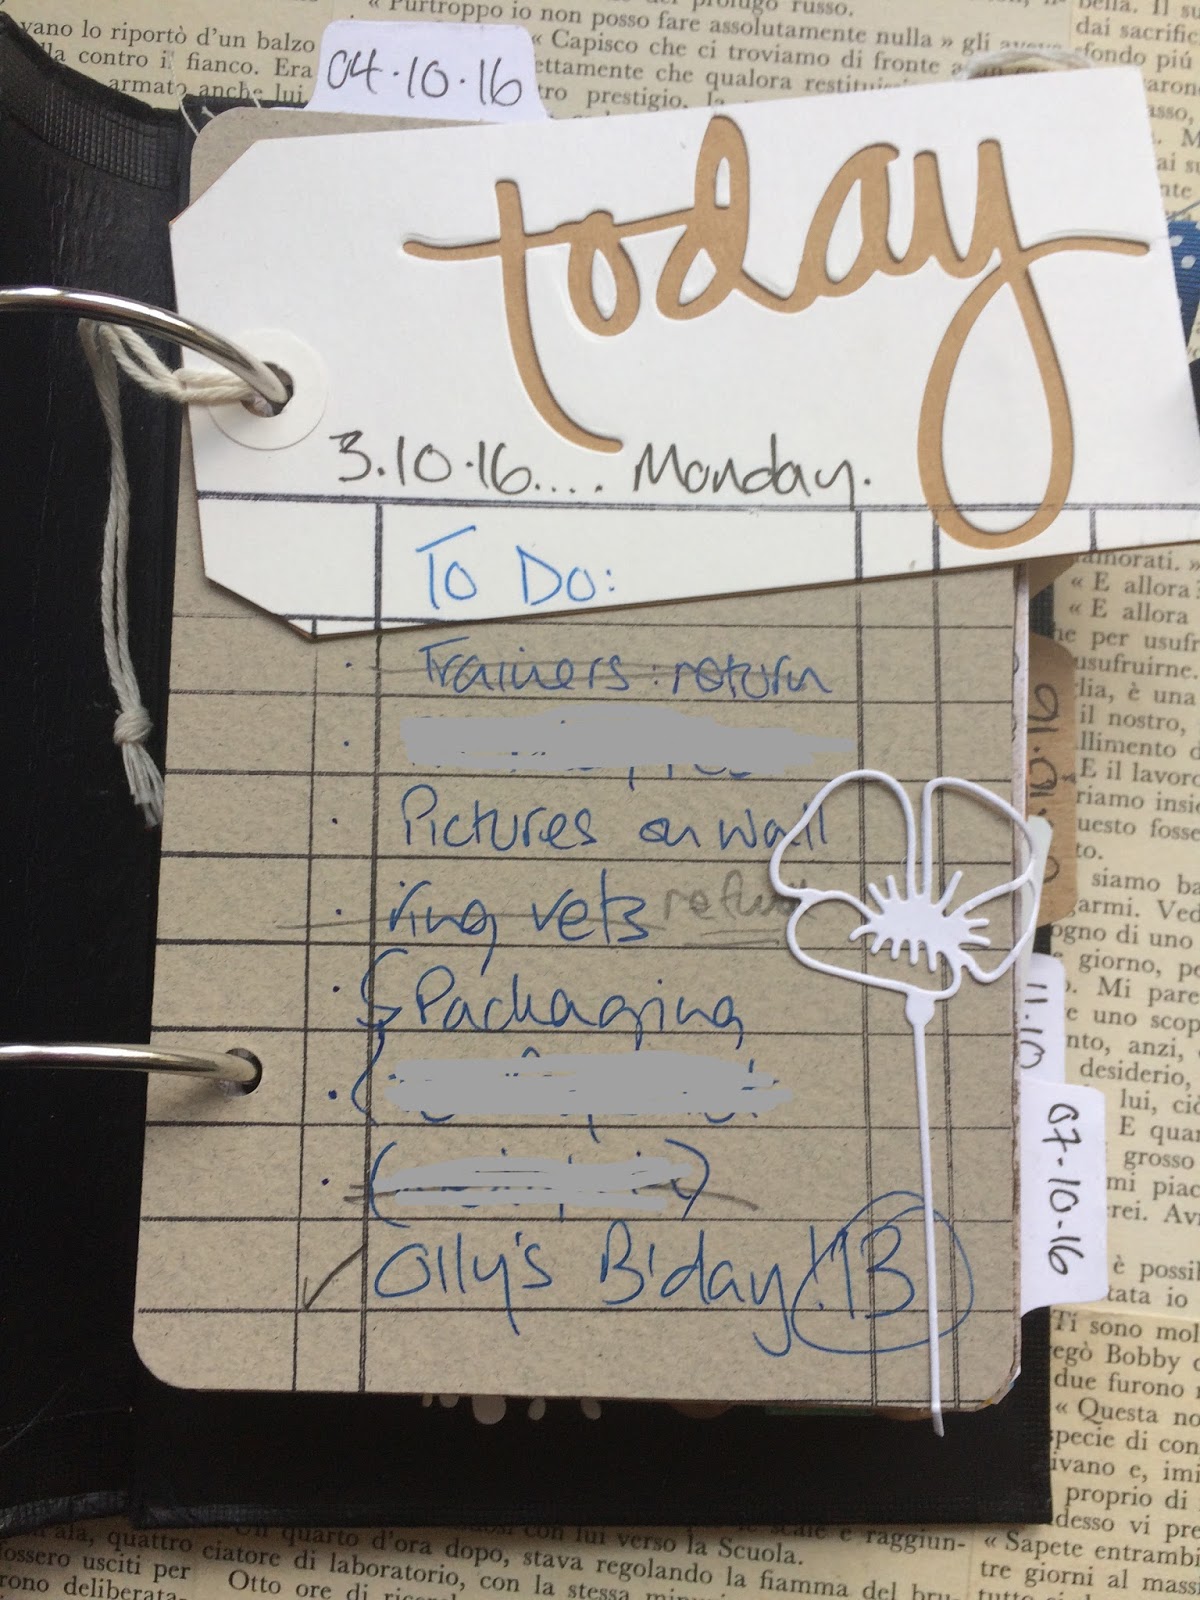
I wrote on this page but it wasn't important (so I don't mind that it is barely visible) - I wanted the embellishments to be the focus.... it doesn't always need to be about the words..
From the photos above you can see the pages are all bound on BIG book rings... They are in a book I created from a book cover I had in my room - yes I really did have an old book cover stashed under the desk just waiting for the perfect project! (you can see how long I've had it because my name is written on it - my maiden name - I've been married 11 years!)


I punched some holes in, made sure the book rings and pages fitted and painted it all over - front and back- with black gesso - LUSH!


I added a title and date and it is finished.
15 days to go....
(and just in case you were wondering - I've used 72 pieces from the pile)
Thanks for stopping by.
x
15 days to go....
(and just in case you were wondering - I've used 72 pieces from the pile)
Thanks for stopping by.
x
I love the idea of this project. You are making amazing cards with your fabulous scraps.
ReplyDeleteooh fabulous projects here Jo - particularly love the book cover!
ReplyDeleteWow Jo, what a wonderful project. I love the repurposed book cover... I have the hinge rings, wonder if I've any large enough. Also have a Big Bite, chomps through anything. Might need to snaffle the idea!!! 👍⭐️
ReplyDeleteFab project Jo
ReplyDeleteGreat pages & cover and congratulations on using some of the pile of scraps....sometimes I think it's time I did more "use or lose" projects!
ReplyDeleteSally
love the book cover - what a fab idea to use up those extras/scraps xx
ReplyDelete