Mixed-media paper crafter; stamper, freelance craft tutor, designer of PaperArtsy JOFY stamps

9 November 2016

All scrapped out....

... the use-it-or-lose-it book I started in October (you can read about it here) is finished.... I did it - a page a day created with bits and pieces solely from the scrap pile! (patting self on back)


The book is not going to close and that makes me happy! I like that it doesn't close and bits and pieces hang out of the sides... books like this make me interested to see what is inside...

& speaking of whats inside here are the further 19+ pages I created during the month...

I like stenciling across the page, over both all the attached layers (scrap paper on left, printed paper on right) it blends everything together.

These are the masks and placement pieces used in a workshop on this day... background is created with black pen, Faber Castell Polychromos pencils and Stabillo CarbOthello pencils.


I don't often use photos of myself but this one on right is OK because I'm pretty much bleached out because of the instant camera print... (and I like my new shorter hair!)... this page is one of the main reasons the book isn't closing! The zipper flower in the middle that I made from a metal/cotton zipper is quite dimensional - I was tempted to remove it and replace with something flatter but the page wasn't as nice without it.... who says a book should close anyway! ;o)

My birthday - I see these numbers around a lot! Strange... nice coincidence... 'twenty-two, ten' gets called out a lot in our house lol

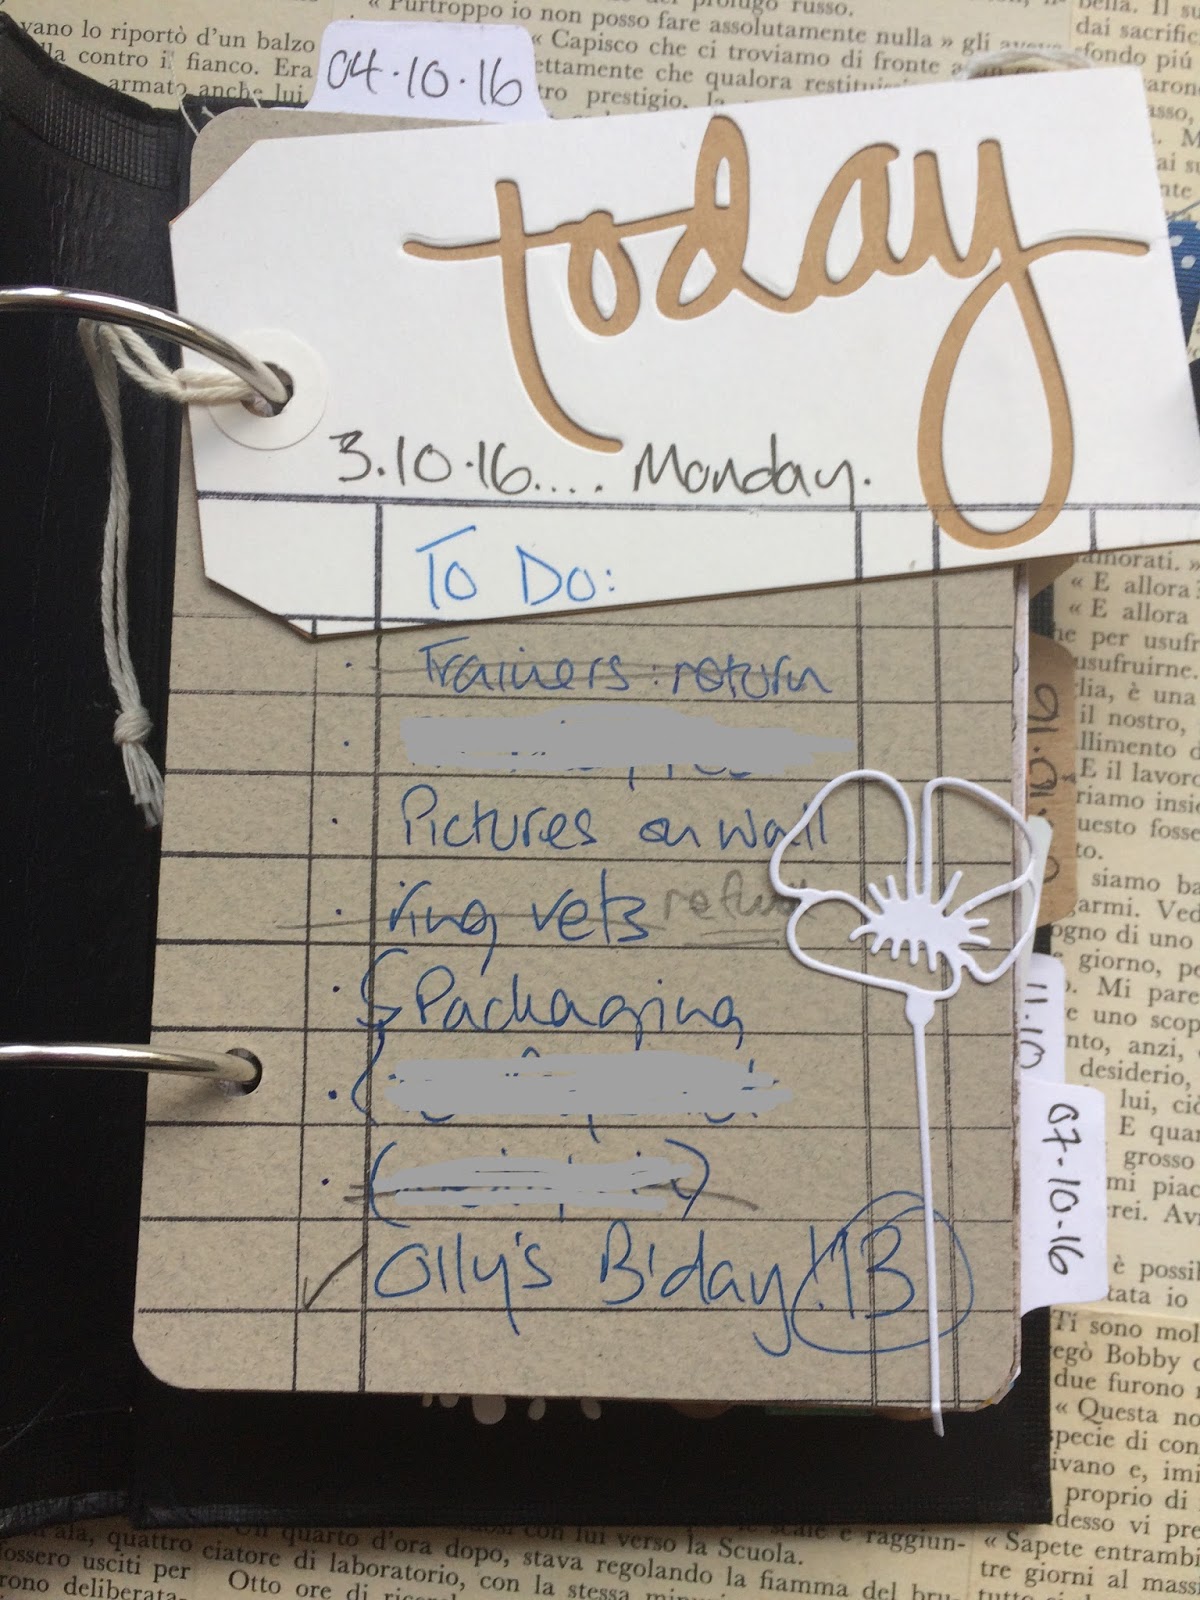
Day after my birthday - still 'celebrating'!! :o)


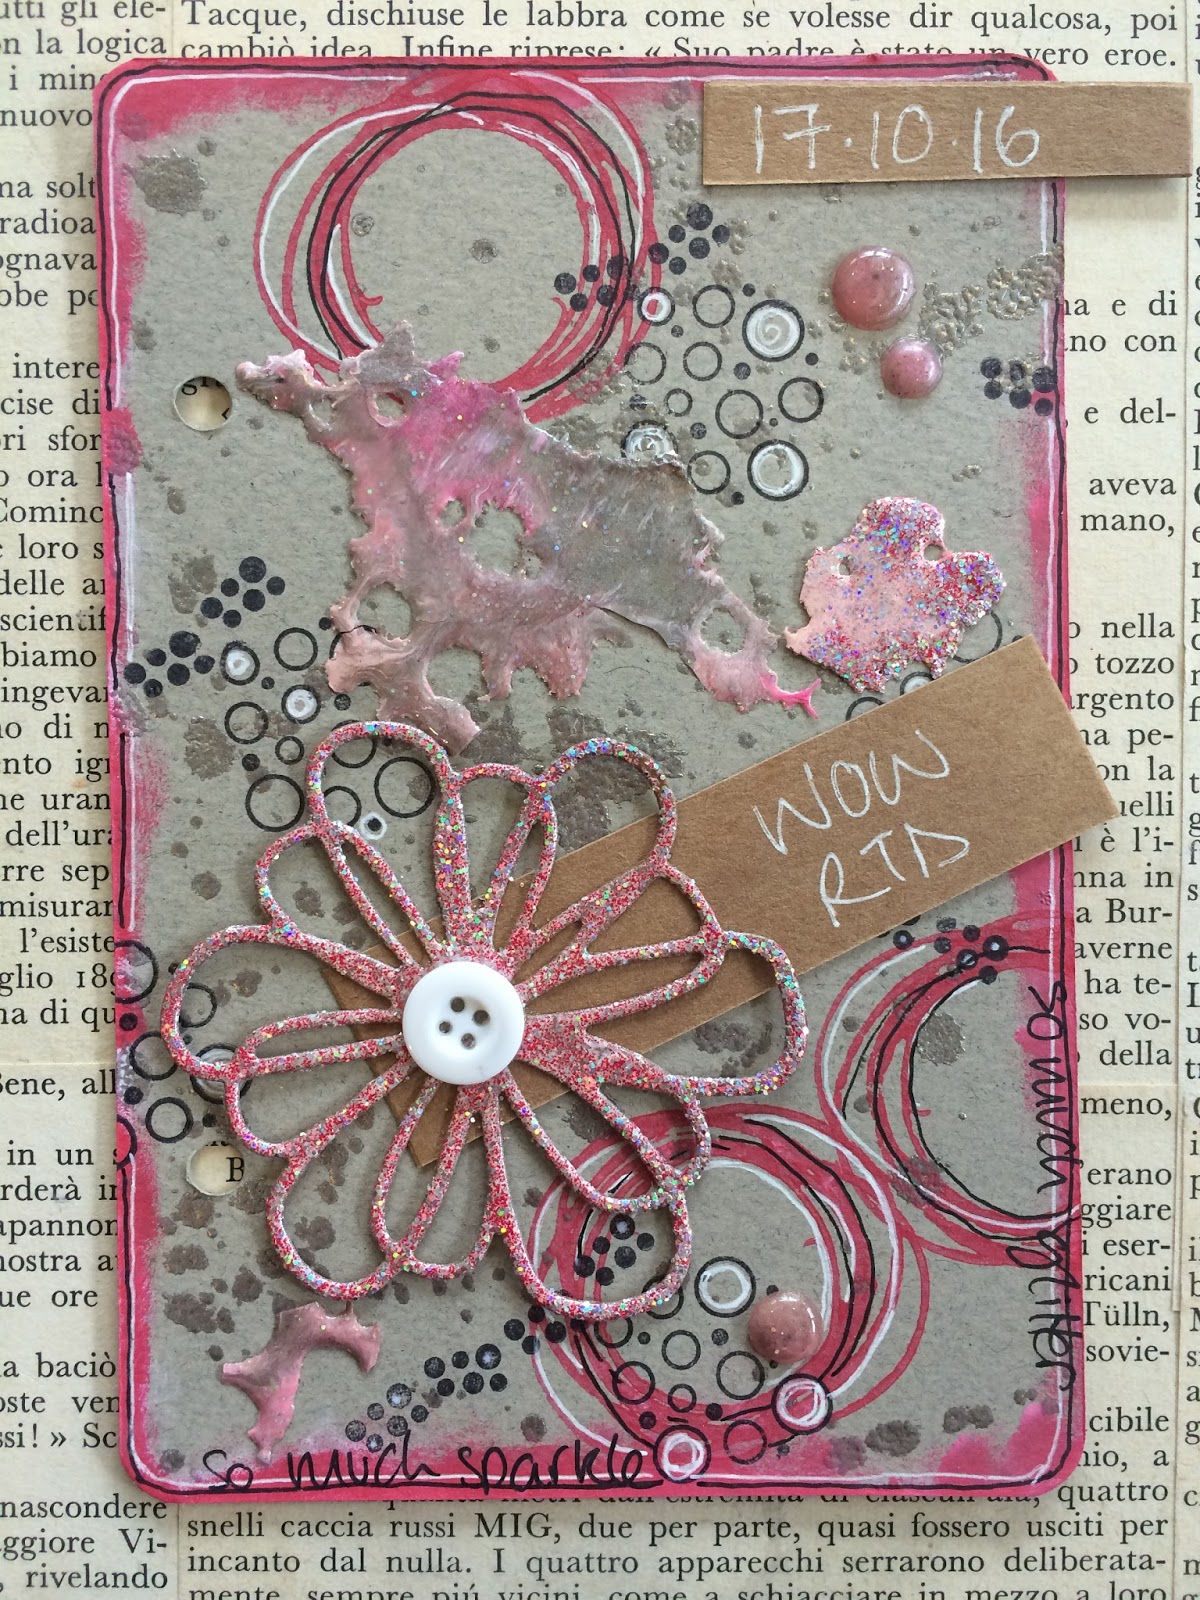
Taking three small die cuts and attaching them together so they are one big die cut.


This flower is created using a flower from JOFY37, and 5 leaves (JOFY12) stamped onto pink paper - love how stamping them onto a different coloured paper can change their purpose so easily.

Couldn't resist adding this to the book (to preserve it!) on top of waste gelli print paper and whats not to love about that bobble trim!!

I used loads of bits and pieces in this book - but obviously not enough as there was still loads left at the end of the month - most of which has been thrown in the bin....

I really enjoyed doing this and I hope its inspired you to make use of all those bits you're hoarding 'just in case'.


By the way...  Have I mentioned that I'm teaching online? I probably have because I'm very excited to be teaching on Wanderlust 2017 !  

This is a years worth of fabulous mixed-media and art journaling classes from myself and 25 other teachers.   You can book your seat at the amazingly low Early Bird price now to make sure that you are ready for a fun adventure and a huge learning experience in the next year. 


Click on the above Wanderlust image to go and book your place!
This is going to be a wonderful year of inspiration and learning.
I can’t wait to meet you all in the classroom!

x


Share:

14 October 2016

ACP:2 Black + S

This month's colour is Black, and as we all know Black goes with everything! and so for that reason my first project this month is a colour free-for-all -  anything/everything goes - literally!


Each day this month I have spent 15 minutes working on a project  - just a...
  • no hassle
  • mind clearing
  • getting in the mood to create
  • clearing the workroom
  • using up the scraps
... sort of project... and it fits in nicely with first letter of this month: the letter S, because S stands for scraps,  scrapbooking, sewing... oh and stenciling & stamping!

When I make a project I always cut extras ('just in case') and keep the left over bits and pieces,these end up gathering in a box or clear file... well enough is enough.  I am being ruthless and firm with myself : STOP SAVING THE SCRAPS (ooh look at all the lovely Ss in that sentence)


Now you might think the pile (imagine I'm saying 'the pile' in a deep scary voice with echo lol to give it gravitas) doesn't look too bad - but remember its a PILE there's plenty of bits and pieces under what you can see - and for size perspective - the cards you can see in the top right hand corner measure 6x4inches.

My project/plan is to make a card every day in October, and extras if I'm in the mood... I didn't set myself any rules or guidelines (why make things hard for yourself) (not even deciding on landscape or portrait! big step for me! lol) except that:
  • Every card must use at least one piece out of the scrap box/from the pile...
  • Nothing new can be bought and used - whatever used must be IN my workroom.
Simple!  I love the challenge of this - making (hopefully) something special out of scraps... and adapting items so they can be used (such as die cutting letters or shapes from the random bits of card that are in the pile..)

Oh, and anything left over at the end of the month will be thrown away.

Here are the cards so far:


I love the little monsters Elena has designed for PaperArtsy (you can find them at www.paperartsy.co.uk), and having used them on my nephew's birthday card I couldn't resist adding one on this page.


The die cut apple above has been in the pile for aaaaages - looks great on this page!  On the right is a ghost print cut from one of the underpapers on my desk - definitely too nice to throw away!

Bit of a motivational page here - and for some reason I seem to have quite a few of these cupcakes in the pile.
Love this page - I wanted to use bubble wrap on a page which has been used to gelli print - always great colour blends left behind so thats what I put on the reverse (on right)

Photos printed out on polaroid style film - I really like the dinky little prints..


A very funny evening watching Nina Conti, the ventriloquist, at the Cliffs Pavilion - really clever too... an evening that was so funny you have tears running down your face.

These shoes are stamps from JOFY43, the 'boy' plate - works really well to illustrate how much walking we did that day!

 There had to be tags and book text in there somewhere!

I wrote on this page but it wasn't important (so I don't mind that it is barely visible) - I wanted the embellishments to be the focus.... it doesn't always need to be about the words..

From the photos above you can see the pages are all bound on BIG book rings... They are in a book I created from a book cover I had in my room - yes I really did have an old book cover stashed under the desk just waiting for the perfect project! (you can see how long I've had it because my name is written on it - my maiden name - I've been married 11 years!)

 I think I had originally used it for altered book techniques.. and removed the pages at some point...

I punched some holes in, made sure the book rings and pages fitted and painted it all over - front and back- with black gesso - LUSH!

Went 'old school' and dug out the hammer and eyelet tools.. which were sadly not man enough to go through the book covers...  This book rin and book cover is a binding method I've used before and like very much (you can see another project HERE) and I found it on Julie Kirk's blog (HERE).

I needed to bring out the big guns! I don't use the Crop-a-dile Big Bite very often but I am very glad I have it- so easy to punch through the book covers and set the eyelets.

Here's the cover in-progress - using a card that I'd painted way back at the start of the project - I thought it would look great on the cover and reflects the contents.  The only number you can still see on the ruler running along the bottom is '22' which made me smile - as that's my birthday! Coincidences like that make me smile!

The cover a little bit further along:  I embossed the tips of the seedhead (WOW, silver sparkle), bubble wrap printed randomly, drew around the edges in grey pencils, added spots of Mermaid to break up the Chalk bubble wrap print.... all glue down but it was still missing 'something'....

I added a title and date and it is finished.

15 days to go....
(and just in case you were wondering - I've used 72 pieces from the pile)


Thanks for stopping by.

x
Share:

1 October 2014

All wrapped up....

... and ready to go...

This is the mini journal I took on holiday with me (you've seen several pages already in a blog post over on the PaperArtsy site HERE).. but when I created those pages it was only one book and as I didn't think that would be enough 'space' for creating while I was on holiday I attached a second book by sewing their back pages together..  In the book I used tipped-in pages, photos, pocket-scrapbooking size journaling cards, stamping, pockets.. anything I could think of really! {and pack in a suitcase of course :o) }  its a play book..


On the original front page I attached a panel of masterboard left over from a previous project, stamped a scallop edge & sewed a loop of calico to hold a pen, rubber, or pencil....
(I felt that the covers needed to be covered so that they were more resilient to wear&tear on holiday and against finger marks (kraft can be easily marked))

On the other 'front page I attached another piece of the materboard and sewed on 2 lengths of calico that I would use to tie the books closed - I thought it was going to be necessary to tie them shut because when all the pages were altered and additional pages tipped-in the books would be difficult to close :o)  I tipped in pages by sewing them using my sewing machine - I positioned them so that they overhung the original pages of the book.

The plan for the book was a journal, holiday 'diary', sketchbook... and to use my stamps (especially the alphabet) and to just play...

The pages of the first book:

A delivery label re-purposed on the inside of the front page- an 'if found' page where the JOFY alphabet is combined with a simple stamp alphabet

When travelling we seem to be identified as much by barcodes as by our names.. I attached a small luggage bar code with another piece of the masterboard, stamping across the background onto the panel to 'tie' the two pages together (I like doing this).

On this page I used one of the prints created with my Instax camera printer (love!!) nice size prints - allows space on the pages for journaling & other decoration, here I used the photo as a flap to create a hidden space for journaling.

Another doodling page - I'd doodled on the white panel and so glued it on to the page and doodled, stamped over the edges and onto the page until the space was filled.. (the green page is another tipped in)
Tiles with journaling, brief notes on the holiday - bite size pieces.

Every-so-often its nice to have a really simple page.

This page makes me smile - its a dress cut from one of the magazines I took on holiday with me and I doodled a person (and her pet) around it - I've given her the most Scottish name I could think of inspired by her tartan dress (and her scottie dog - yes that is a scottie dog! lol)


Pages in the second book:

Another print this time teamed with some of the book words/phrases, and extra paper that I took with me.

... contained in the pockets I created by sewing together the last two pages of each book, and punching a scoop out of the top to make it easier to take items in and out of the pocket.

I read a book on holiday that really inspired me and so I created a page using one of phrases from the book.

The spread below has a tipped-in page gingham page that has a olive green reverse and folds over right to left, & left to right to reveal different layers.... 

... easiest way to show you is in a little video (please excuse my video-ing skills! lol)...

A pretty page using JOFY flowers to hold the photo on to the page.. I like the way the pink page behind frames the flower page.

That's most of the pages - still a few pages waiting to be filled - it was a fun book to work in - and a nice size - just 6x4inches.... & I like how the size has been extended by the jutting out tipped-in pages.

And here is the little book making the most of the Grecian sun.. a sun lounger makes a useful desk!  lol
This photo also shows the basic kit I take away with me (or at least some of it - the cocktail menu is optional lol) - alphabet stamps, scissor, metal ruler, a5 craft mat, doublesided tape, kraft knie, pens and pencils...
x
Share:
Blogger Template Created by pipdig