The first challenge went live today. I was sent a 'mystery' package (who doesn't love a mystery package!) and inside was this great product selection..

This was going to be fun! Air dry clay has been in the back of my mind for some time as a product to experiment with and use in different ways... so this pack got me thinking.... The pack contained Das products - a slab of plain clay, a rolling pin, 2 packs of coloured/marbling clay and a bottle of varnish... all a little out of my comfort zone of paper, paint, and stamps... but this is good!
I really like the simplicity of the rolling pin - and the removable rubber rings - 2 of each size (one for each end) to ensure even depth when rolling out the clay - simple but effective!

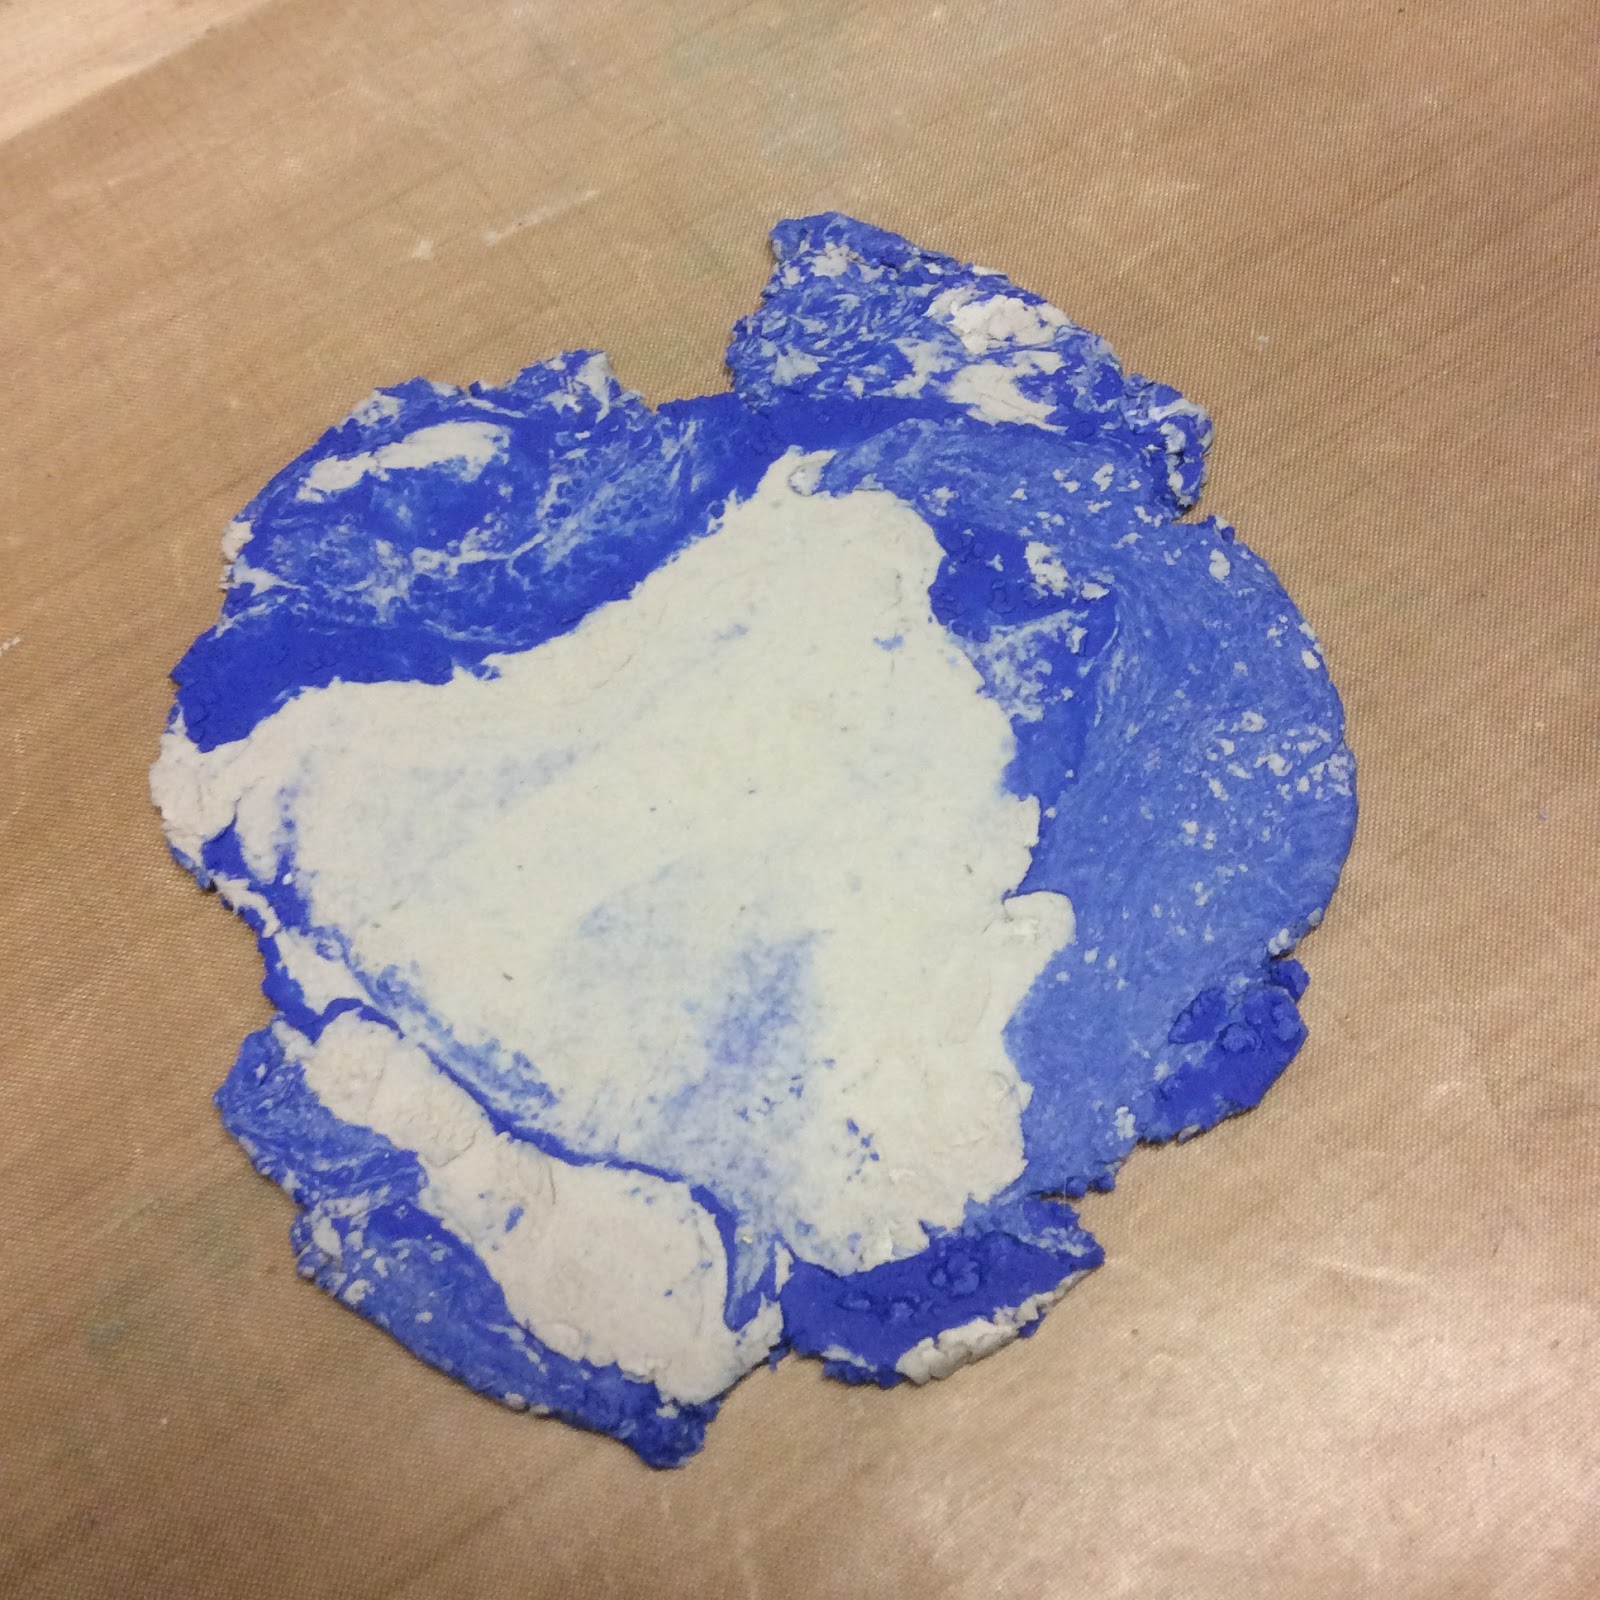
I combined the plain clay with one of the colours - 'Sodalite Blue' - I just squished (I don't have a technical term for that process lol) them together and then rolled them out - I really like the unpredictability of this - no two pieces are going to be the same & I like how one side of the rolled out sheet is completely different to the other.

Once the clay had been rolled out I used a star shaped pastry cutter to cut several stars from the most interesting patterned areas of the clay, when they were dry I gently sanded the edges & painted several of them with the varnish - in the photo below the right hand star has been varnished giving it a lovely gloss finish.

I rolled the excess back into a ball, then rolled it out flat again and after pressing some rubber stamps into the surface to create an impression I cookie cuttered out some more shapes. I pierced holes in all the shapes, and laid them on the radiators to dry, turning and flattening them occasionally.

I planned to use these pieces as embellishments for presents - they can be used all year and can be personalised, and because the clay is really lightweight it doesn't add weight to the gift wrap.

The photo below shows how I've used them on a wrapped bottle - all the stars have different effects: Top star has a pattern pressed in to the surface using a rubber stamp into the surface (red/grey rubber stamps are better for this than clear stamps as they are firmer); middle star has been varnished and a monogram stamped onto the surface; the bottom large star has been left plain.

Here's the small present nestled into the christmas tree - cute!

I created some pieces with the plain clay too - there's a blog post featuring those coming in the next week.
x
What a lovely idea!! And if it's a challenge for you, super smart creative person, it would be stratospheric for me!! But it almost seems possible!! Happy new year!!
ReplyDeleteO wow what an amazing parcel Jo and your pieces are just brilliant. I too have been thinking of trying some art clay this year and that looks fun xx
ReplyDeleteooh, love this - what a great mystery parcel too.
ReplyDeleteFab mystery parcel & I love the resulting pieces, they're gorgeous.
ReplyDeleteBrilliant! Simple but brilliant.
ReplyDeleteCould you squash the clay into embossing folders or would you not be able to get it out again?
ReplyDeleteHi Christine. You could roll it flat onto one of the sides of the embossing folder - depending on which side you'd get an emboss or a deboss. It would simple peel off the plastic... definitely wouldn't put it through a die cut machine :o)
DeleteHope you're keeping well.