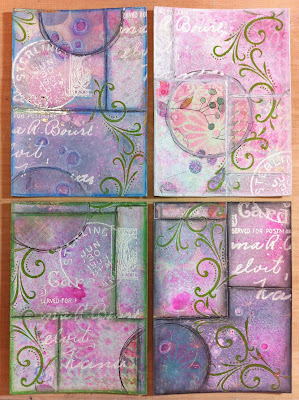
Back in April I showed you these panels:

... and blogged how I altered one of them with the use of my stamps:

... I've recently altered another one- prompted by a sketch/plan I made in my sketchbook earlier this year...
...and here's how I used simple painting, stamping and stenciling to make the changes.
Firstly I sealed the surface using Matte Medium because when I altered the last panel I found the sprayed colours ran and were absorbed into newly applied layers (annoying!)- Matte Medium is great for sealing a surface because its fast drying & matte so nice surface to work onto. When the newly sealed surface was dry I white washed it Snowflake Fresco Finish, wiping off where necessary and added further layers of Snowflake around the edges and to some of the overly-pink patches that I didn't like.
Next up was stenciling - using JOFY PS007. stenciled once in Snowflake:
.. stencil was cleaned, flipped over and used on other side so the design faces other direction:
... added a bit of stencil pattern around the edges:
.. used a fineliner pen to accent the edges:
.. and around the stencil flower stems...
.. BUT, I decided I didn't like the pen detailing on the flower and so coloured over it with paint and a white gel pen, which made the stencil look heavy and a bit messy - this probably wouldn't have been so noticeable had it not been so close to the other flower stem... so.. hhhmmmm how to rescue it.... I decided to white wash over the panel except for the lower flower stem which created a new focal point:
... I created a couple of tags out of kraft card white washed to soften the dark kraft colour, (words are from JOFY11) the tags were tied onto the panel with fine string (a recent favourite product of mine):
Here's another look at the finished panel - really quick'n'easy and fun to alter:
I hope this inspires you to take an existing piece of work and give it a makeover... or to create something new... or just to have fun with paper and paint and stamps...
x


what a great transformation - two works for the price of one!!
ReplyDeleteThank you for the inspiration and tips. Looks amazing after adding all the layers and stencils:-) xxx
ReplyDeleteLove this,I think that is my favourite stencil,wonderful piece of art
ReplyDeleteHugs
Donna x
You are a genius!!
ReplyDeleteChiara
http://robinscrap.blogspot.it