Mixed-media paper crafter; stamper, freelance craft tutor, designer of PaperArtsy JOFY stamps

27 November 2018

Christmas cards....

.... are on the {ever growing} christmas 'to-do' list... and I wanted to share with you a couple of cards I made using stamp set JOFY69 and the smaller of the two trees...  they're quite simple, a little bit 'less-is-more', bit of paper piecing and a sprinkle of glitter...


JOFY 2018

When I designed these trees this is how I planned to use them - layering up different patterned papers.  I picked out some papers from the 8x8in pads I have in my stash (Basic Grey... sigh.. I miss their papers). 

I chose three patterns that I thought worked nicely together and, using my stamping platform, stamped 3 trees and cut them out.

I cut the trees up ready to be layered - leaving a tier above or below the required tier so that there is something to attached it to (that's quite hard to explain lol) 

The trees below are created from the trees above... (I used a Tombow glue stick to attach them together as it gives a bit of wiggle time)

The trees looked a bit flat so I added depth by shading below the line of each tier to create shadow. (Tombow Brush Marker in pale grey) - simple but makes a big difference when you compare the above and below photos.  (I also added a white top tier to one of the trees, I thought it didn't have enough pattern changes).

I stamped the tree trunk several times onto brown printed paper and cut out leaving excess at the top (looks like a little mushroom!) so the trunk could be attached to the tree.

Here's the trunk from the front.

These trees are a bit time consuming but worth it! (in my humble opinion).

To make the cards I took a 10cm panel of kraft card and stamped JM07 down one edge (this snowflake stamps is a definite 'go-to' for me!), mounted it onto a 12.5cm card and 3d mounted the tree on top - overlapping the edge to tie the two panels together.


This card is the opposite colour combination to the card above - they're the same but different.  I like that.  I added a touch of glitter (Stickles) and gold paint (PaperArtsy White Fire Fresco) for a bit of sparkle.

I think this is a good card to make sitting down in front of the tv with a nice christmas film... a bit of stamping, bit of fussy (but not too fussy) cutting and some sticking!... and you can attack the stash in the process.!  ho ho ho!

Thanks for stopping by!


Share:

13 August 2018

JoFY Bingo Wk.12


BINGO!! Yes JoFYBingo!  Its been a while.. but I am back on it - ready to roll out the all important numbers which this week are 2 & 30...
(if you've forgotten what JoFY Bingo is (and considering how long its been that would be understandable) the details can be found at the bottom of this blog post)


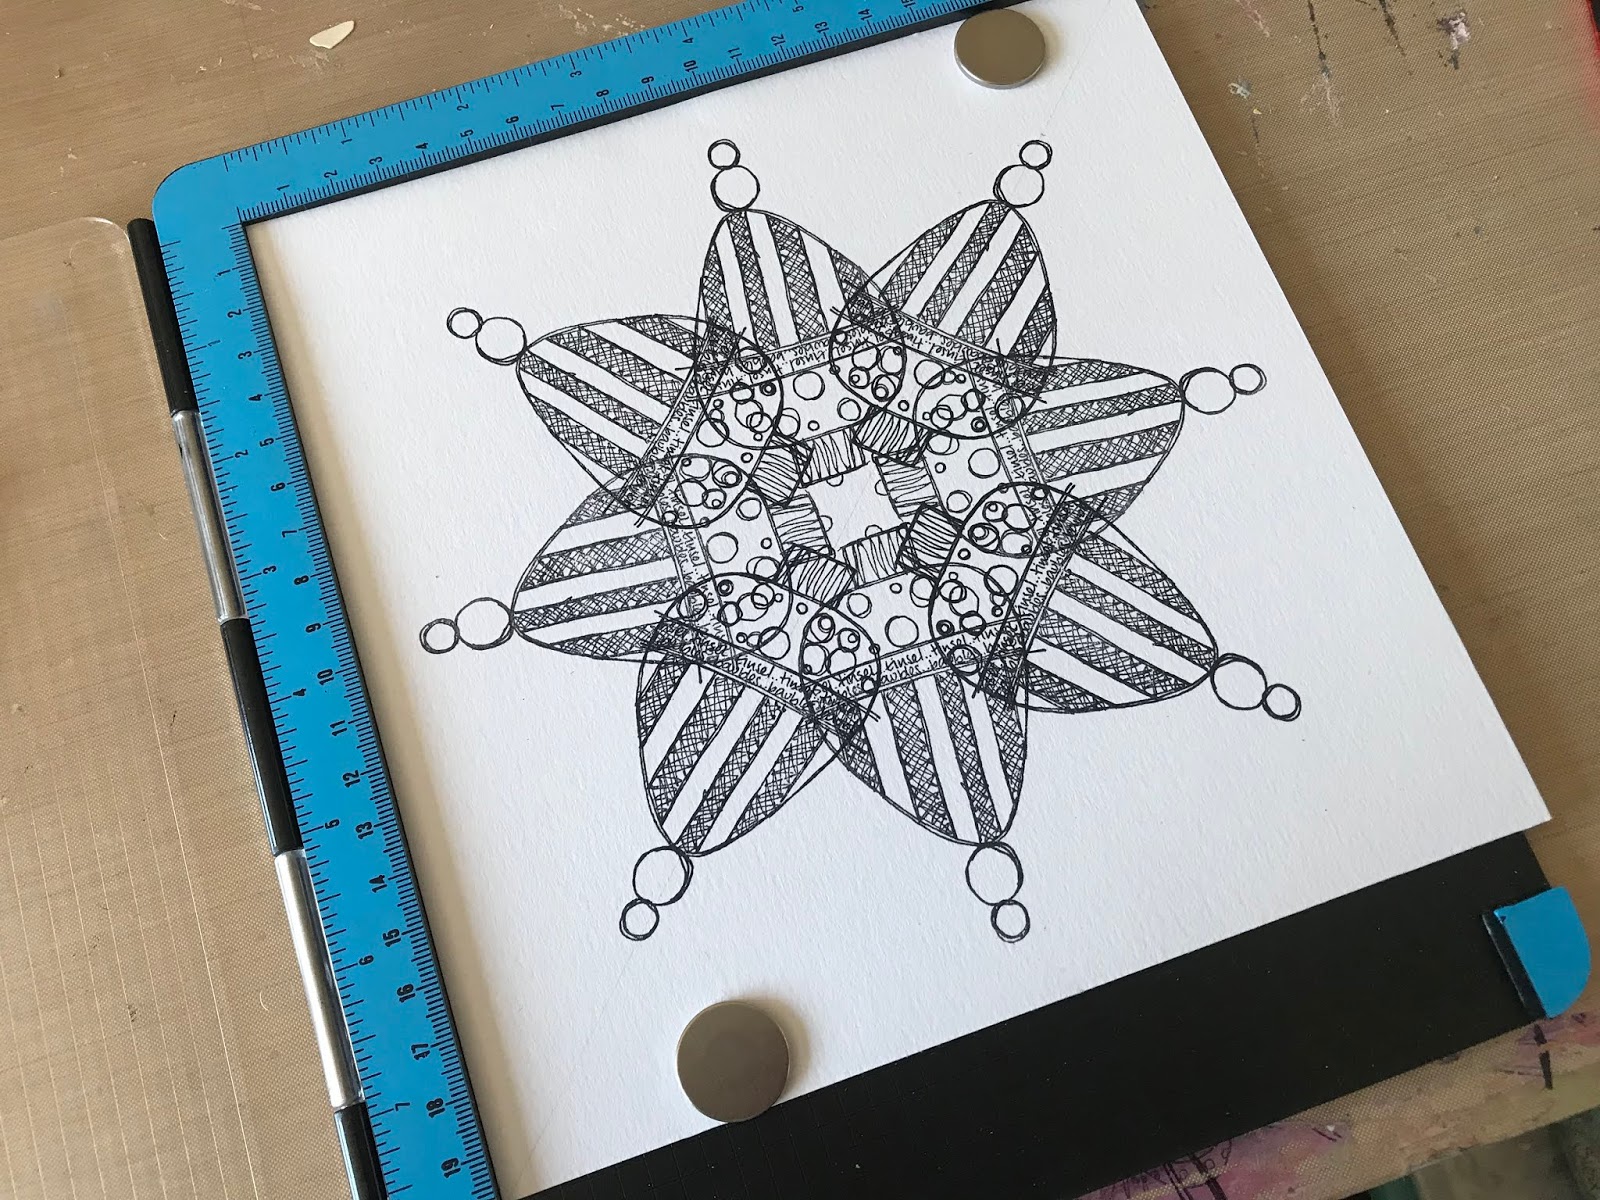
Baubles and Bees!  Could be tricky to combine - but I combined the large bauble and the honeycomb background (hexagons.. they're a favourite of mine!) to create a festive 'wreath'...


I could not have created this dedsign without the use of a Stamping Platform - if you don't have a platform already then GO AND GET ONE!!! They are such a useful tool to have - seriously - go buy one!!
(fyi: I use Crafts-Too's Press to Impress platform)

I started with a square piece of card (20x20cm). 

NB I work with my stamp platform so it opens and closes like a book (just pointing that out as some platforms work with the hinge at the top). I call the clear panel the stamps stick to the 'lid'... or sometimes the door

I'm going to repeat each image on all four sides of the panel of card. I positioned the large bauble in the centre of the panel (l to r) so I could see how looked, then I flipped it over and closed the lid of the platform transferring the stamp onto it.

I stamped the image.....

Rotated the panel, each time stamping the image.... 

I wanted images inbetween these so I drew a light pencil line corner to corner across the page,  positioned the image on the line, marked where it was to go....

Then stamped the second round of images... 


The stamping platform really is invaluable when you're stamping a design like the - it would be sooooo hard to repeat images accurately without one.

I wanted the design to have a background image so of course I used the honeycomb from JOFY30.  

First I need to create a mask so I covered the stamped images with light weight paper, traced around the image and cut it out (cutting only what was needed.)

I positioned and stamped the honeycomb design on all foursides (rotating the panel as previously)...

I repositioned the stamp and stamped around the panel again...

Here's the 'wreath' almost finished, but there were a few spaces that I felt needed filling...

I added the single fairy light bulb either sided of the bauble on the straight edge..

... and a single star in the small space in the corners...

You might be wondering where is the single star on either of this weeks stamp sets...?? Its actually the star from the top of the present pile...
I separated it from the main stamp with 2 clean cuts - I'm really careful when I do this so I don't damage the stamp's line.  The stamp will fit back together again when positioned on an acrylic block.

Here is the finished stamped design...  

I used a Tombow Brush marker to add splashes of colour and shadowing around the baubles to lift them off the page....

I die cut a circle and the word 'noel' added it (3d foam) to the centre of the wreath.  Here's the finished panel:

I'm so glad I have a stamping platform!! As I said earlier I wouldn't  be able to create this design without one.
I hope its inspired you to treat yourself to one. There are lots of tutorials on the web about how to use them - its a surprisingly versatile tool.


If you want to know about JoFY Bingo....here are the details:

The numbers are drawn on Monday, along with a project I've made using the corresponding stamp sets, then the plan is to:
  • Use/combine 1 or 2 stamp sets (use only those stamp sets - but not all the stamps in each set - that would be too much of an ask but as long as there are one or two stamps from each set then its OK!)
  • 7 days to create 1 project, makers choice:  cards... atc... journal page... dimensional project... tag...
  • Use any paints/media, colours, embellishments, stencils/masks
  • Load up your project to Instagram any time during the week.  Please use Instagram links #jofybingo and @jofyjo in the text (not 'tagging' me please) so I can find it :o)
I'm going to use/combine 2 stamps sets each week but if you'd like to join in but only have one of the chosen sets then join in using that set! 

Please come and play!

If you don't have an Instagram account you can add your project in the comments on the Facebook post linked to this blog post (facebook links:  https://www.facebook.com/JoFY.JoFirthYoung/ or https://www.facebook.com/jo.firthyoung )


Thanks for stopping by!


Share:

9 August 2018

Size doesn't matter...

... when it comes to art journals... this one is at the smaller end of the scale....

This is my mini midori style journal, made with off-cuts left over from when I created a batch of leather bound journals for christmas 2017.

I've added a pencil to show the size of the journal - pages are approximately 5x5cm - not as mini as some journals out there but mini enough for me! lol

Its really a tiny junk journal created with 'HappyScraps' - those discarded pieces that are too nice to throw away...


(this is a flower from JOFY61, and I've doodled around the edges to make it larger.... nice!)

 ooooh doodling in white rather than black


Still enjoying working with watercolour paint - and I really like how different they look on different surfaces  - above is on canvas and below is on Smoothy card...


I coloured this page with Tombow brush pens (I like those A LOT) and then added some neon gel pen marks - it all looks quite subtle and 'normal' until its placed under a UV lamp!!!!

Here is the same page - left is daylight, right is UV light - crazy!!  Love it!
(could easily write secret messages only seen under UV light....... lol)


Working in this book was a lot of fun - no pressure - the pages are a bit 'goldilocks' - not too big, not too small - they were just right!

Have a go at working small - its fun - trust me! 

Thanks for popping by!


Share:
Blogger Template Created by pipdig